

Photoshop Smart Objects: the ultimate guide and 7 Smart Object tips
Smart Objects are wonderful tools in Photoshop. They enable you to make unlimited changes without losing quality and provide an amazing amount of flexibility. This nondestructive way of working is really the modern workflow for Photoshop. They are also capable of doing a lot more than most people realize. If you don’t really understand Smart Objects, I am going to explain this clearly to you. If you do understand, I’m going to give you 7 tips (or workflows) and show you some things you may not be aware that you can do with Smart Objects, or even in Photoshop.
First of all, I highly recommend you watch the video, and then read the steps for clarification and reference. You will want to bookmark this page. (And share it with all your friends.
What are Photoshop Smart Objects and how do they work?
I’m going to use potatoes to explain smart objects. Imagine that this potato is your image.
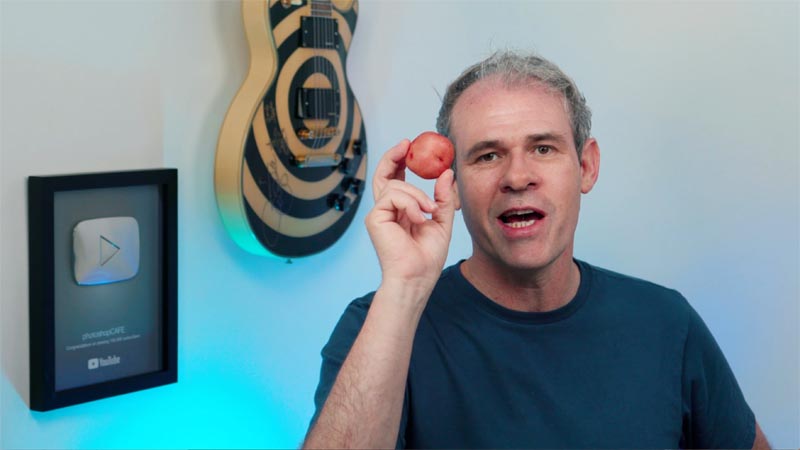
If you wanted to change the color of it, you could paint the potato, or apply substances to it to change the texture. However, if you change your mind later, it’s very hard to undo. This is the same with your images, if you paint directly on it (without layers), or apply a filter directly to the pixels, you can’t change your mind later. What you need to do, it protects your pixels and put them inside a container.
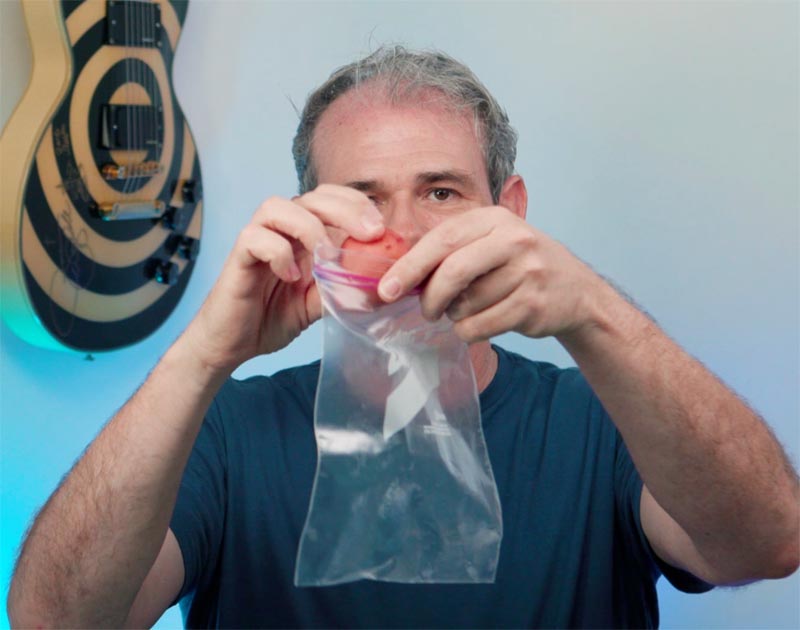
Putting the potatoe inside a plastic bag is the same as putting your pixels in a smart object. Now, when you paint or add texture, it will be applied to the bag or “container” and not on the potato directly. The bag is the Smart Object.
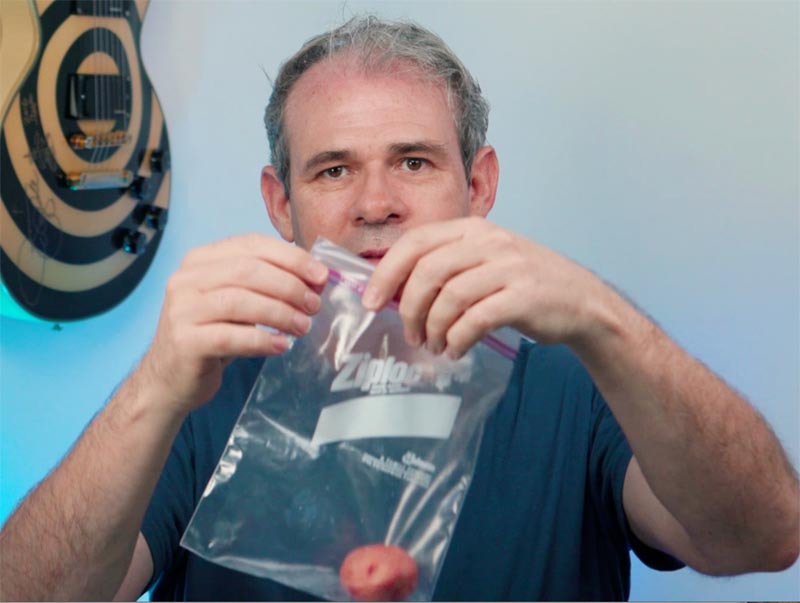
If you change your mind later, you can always remove the potato from the bag and it will be unaffected by whatever you did to the bag. (Short of boiling it). This is the same with a smart object. The changes are applied to the object (or bag). You can always remove your pixels from the Smart Object (or bag)
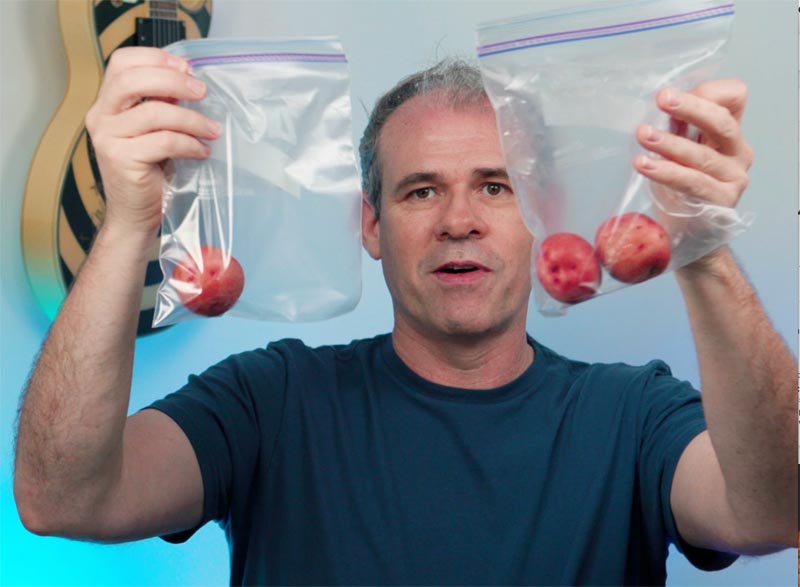
You can have multiple layers in a Smart object (Potatoes) and multiple Smart Objects (Or bags of potatoes). You can even put them inside other Smart Objects (or bags).
Hopefully, that helps a little bit, Read on and I’ll explain what Smart Objects can do and how to use them and things will become clear.
One: Smart Objects Maintain the Quality of your pixels

If you are going to change the size of the objects your layers, you will lose quality, unless you use a Smart Object, let me demonstrate.
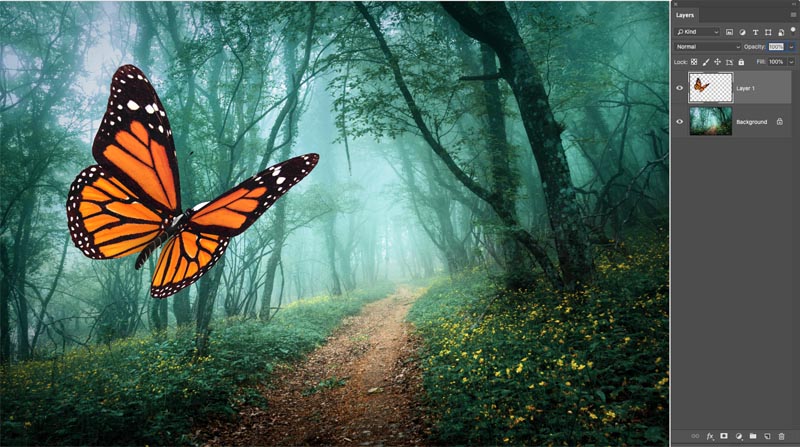
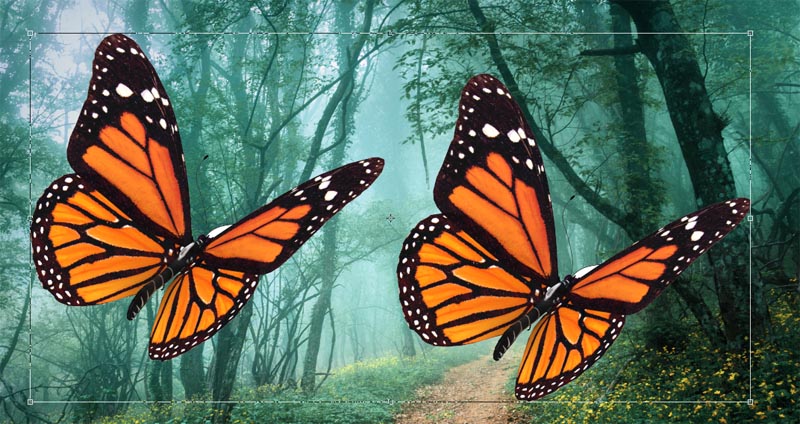
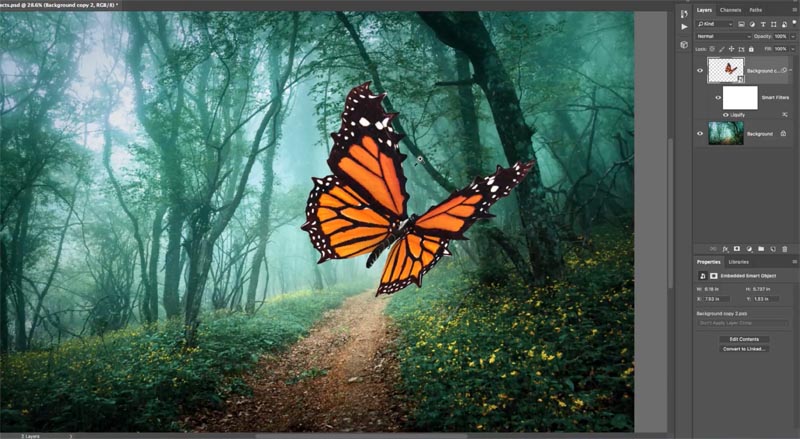
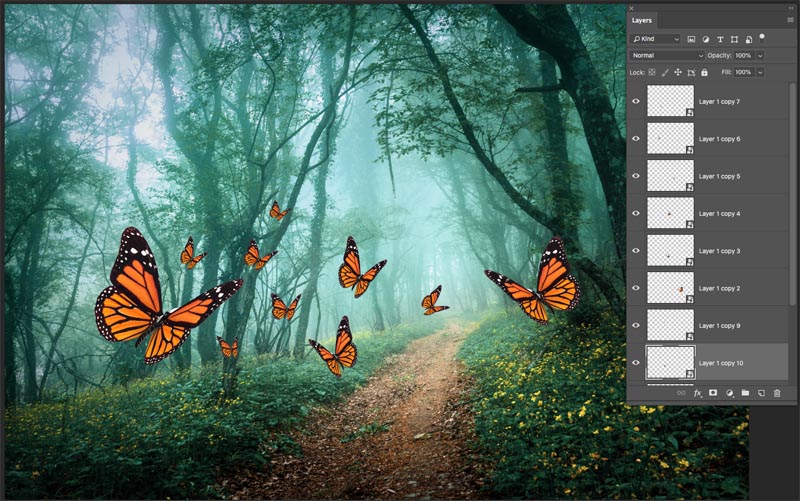
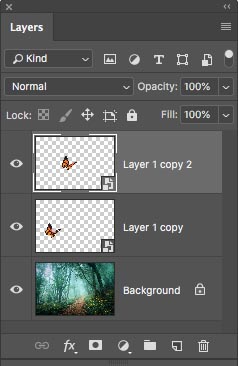
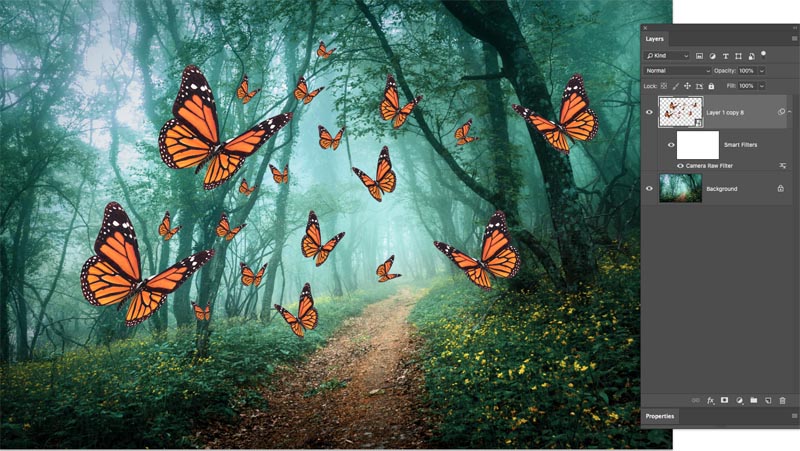
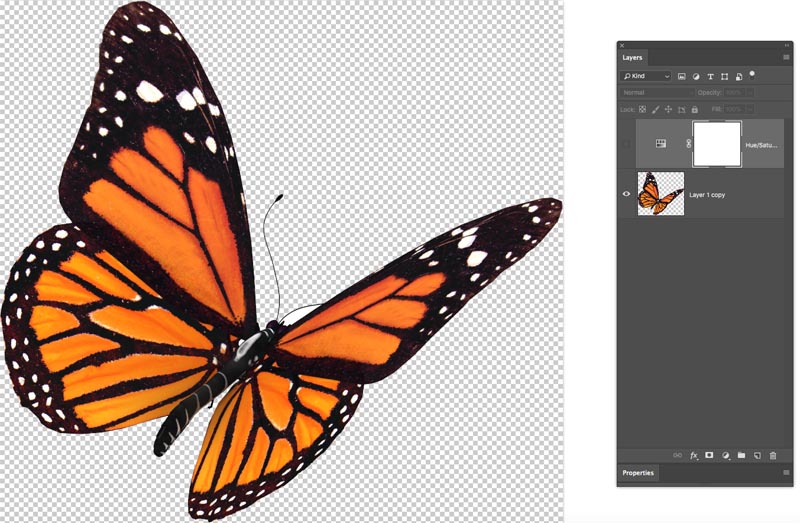
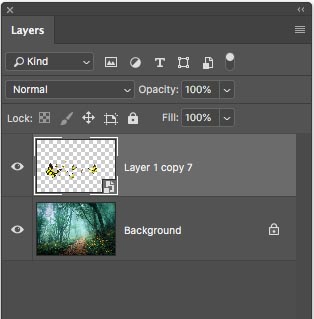
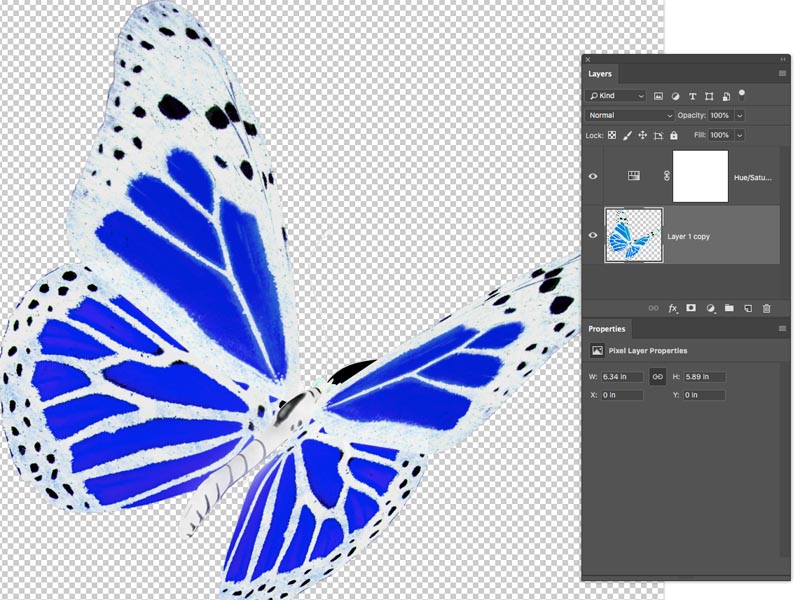
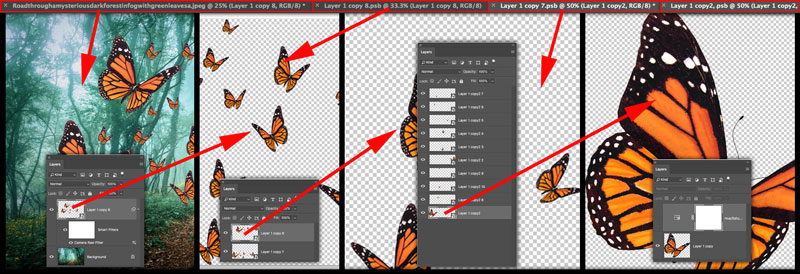
Here is an image of a butterfly on a layer above a background.
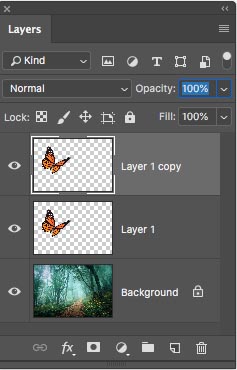
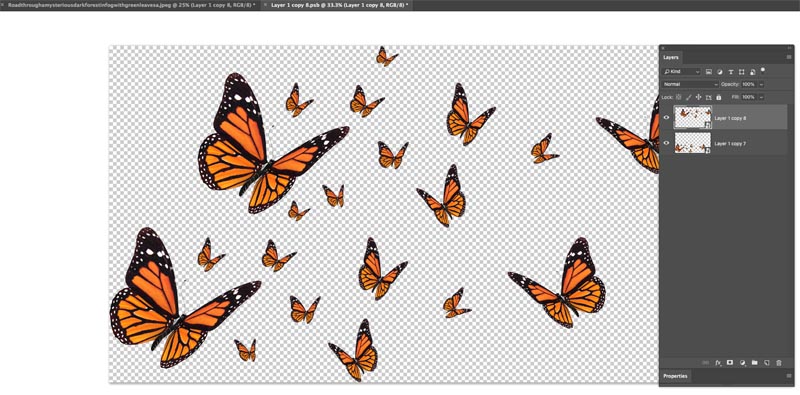
Duplicate the butterfly layer by pressing Ctrl/Cmd+J and drag the copy next to the original.
You will see 2 layers now.
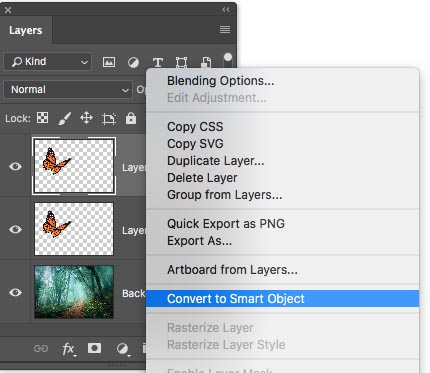
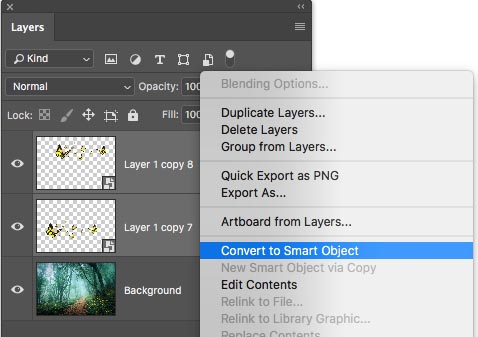
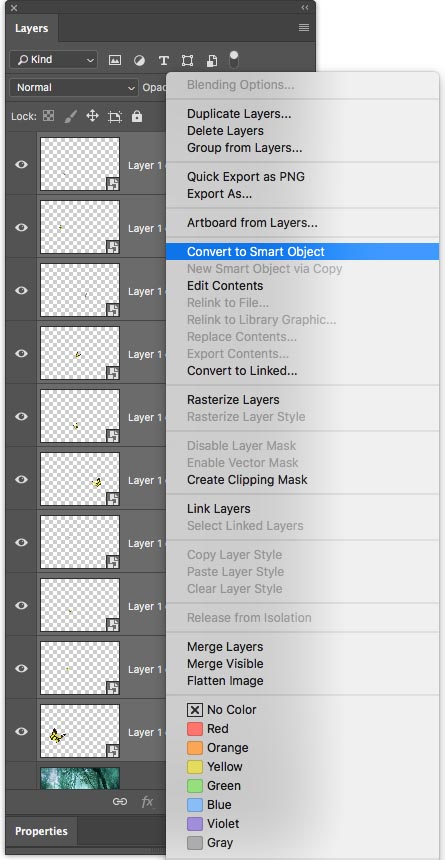
Let’s convert one of the layers into a Smart Object.
Right Click the thumbnail and choose, Convert to Smart Object
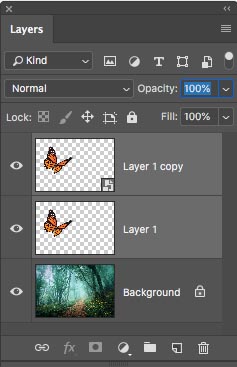
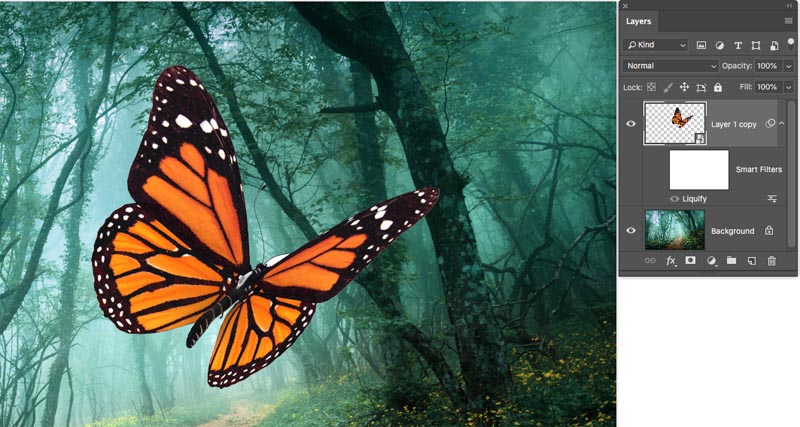
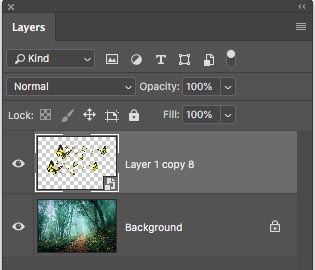
One of the layers is now a Smart Object (Or more correctly, put inside a Smart Object, remember the potato in the bag?)
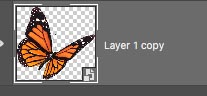
You can see it’s a Smart Object because of the little badge in the bottom-Right Corner.
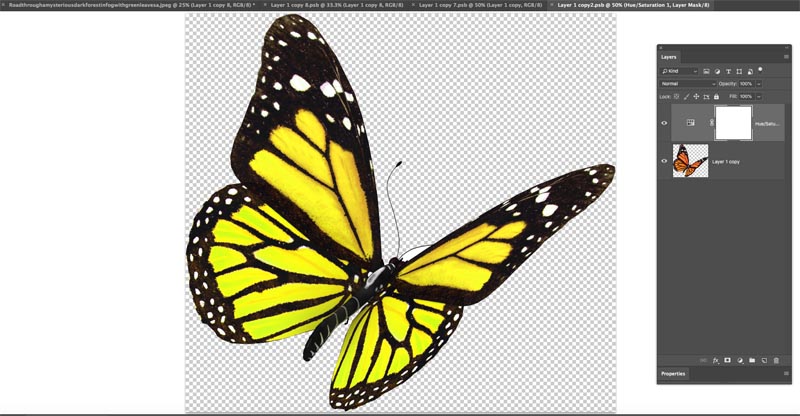
Select both Layers By clicking on the first and Cmd/Ctrl+Clicking on the 2nd layer.
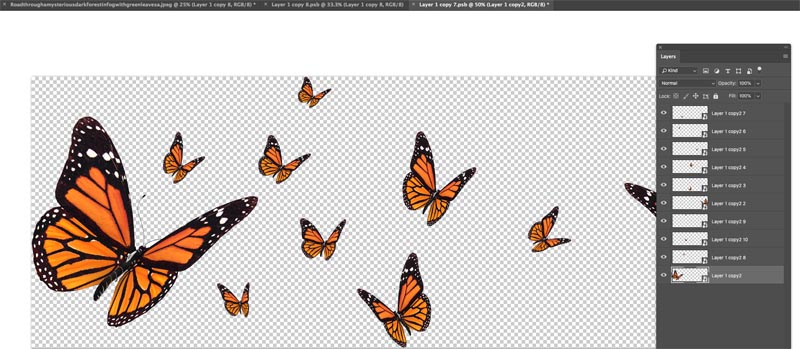
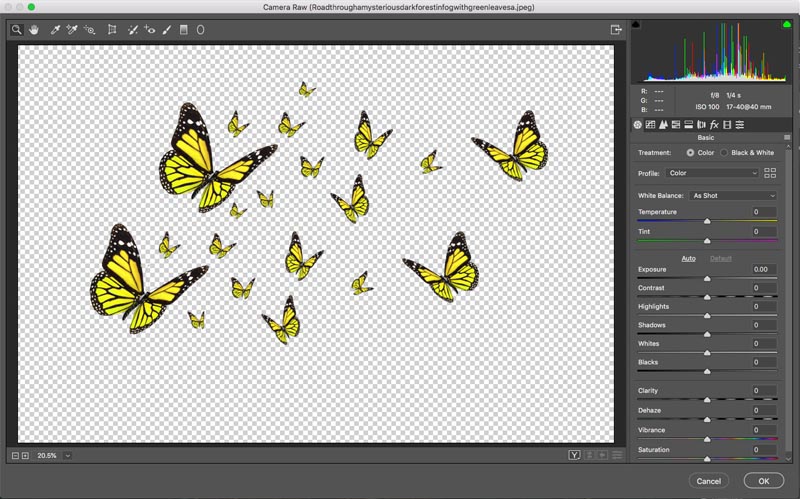
Let’s change the size of both of these. Press Cmd/Ctrl+T for free transform.
Drag one of the corner handles to scale down. Hold down th Shift key as you drag to constrain the proportions. Press Enter to apply when they are small.

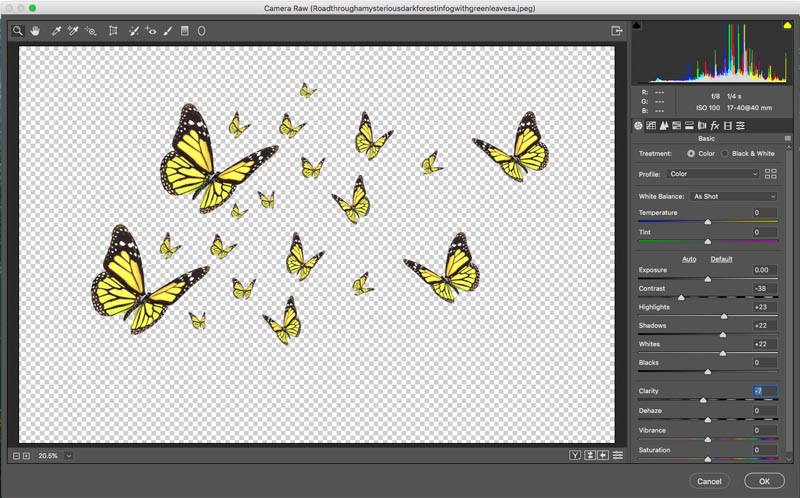
Now, let’s scale them back up. Press Cmd/Ctrl+T for free transform again and scale them back up to the original size.
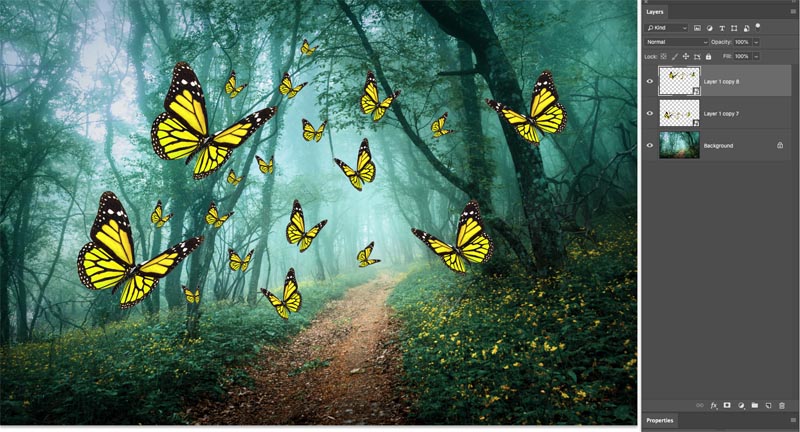
Notice on the right, the pixels have lost quality and are looking soft. The butterfly that is in the Smart Object is looking exactly how it was at the start, nice and sharp.

If there was no other reason to use a Smart Object other than preserving the sharpness and quality of the image, that would be enough. But read on for 6 more reasons!
Two: Smart Filters
When you apply a filter directly to a layer it will be backed into the image and cannot be undone later. (An adjustment layer, on the other hand, is non-destructive whatever it’s used on. See the tutorial on Adjustment Layers.
Most of Photoshop’s filters will work with Smart objects. When a filter is added to a Smart Object, it becomes a Smart Filter. It can be changes or removed at any time.
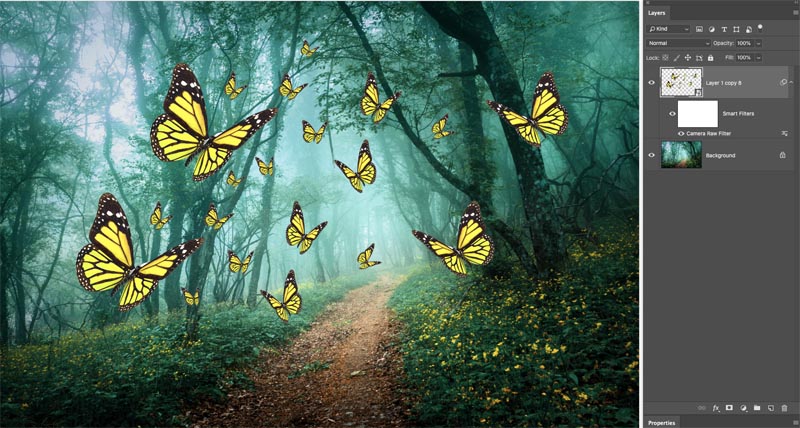
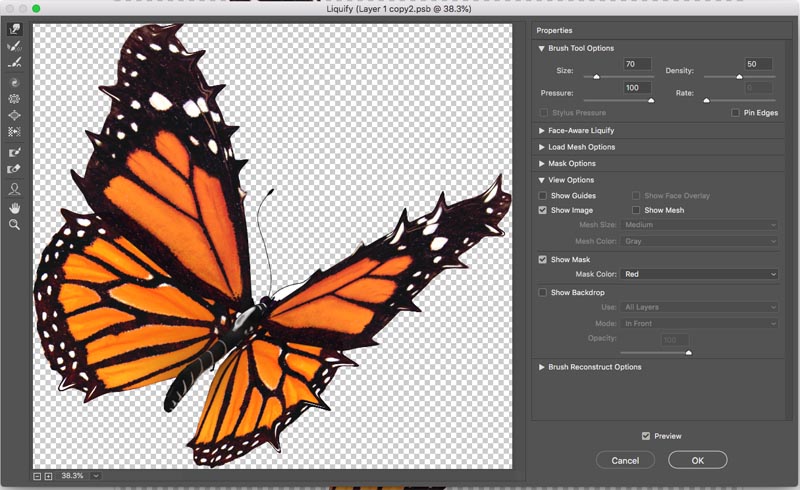
Let’s apply a filter to our butterfly that we converted to a Smert Object in the previous step.
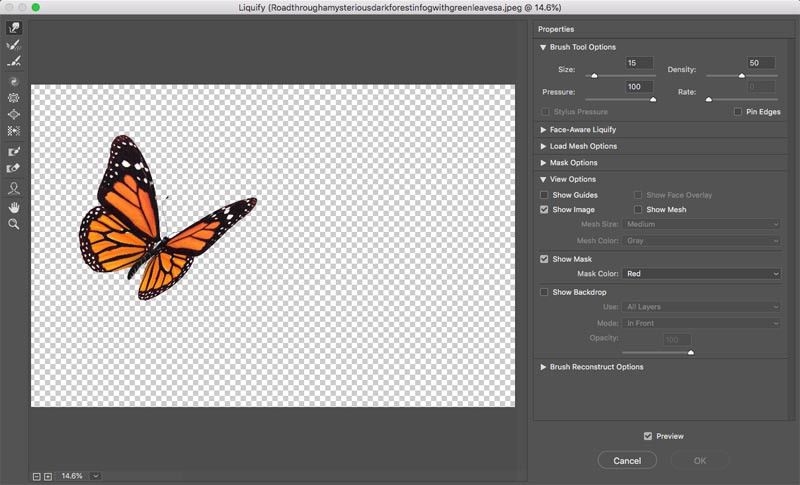
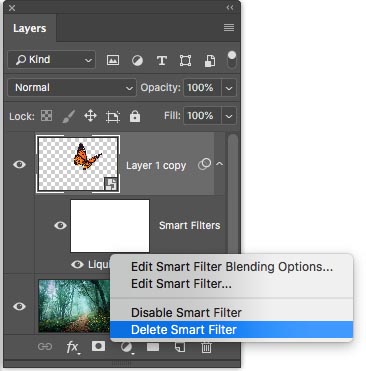
Choose Filter>Liquify
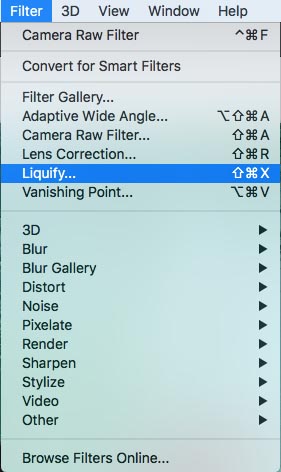
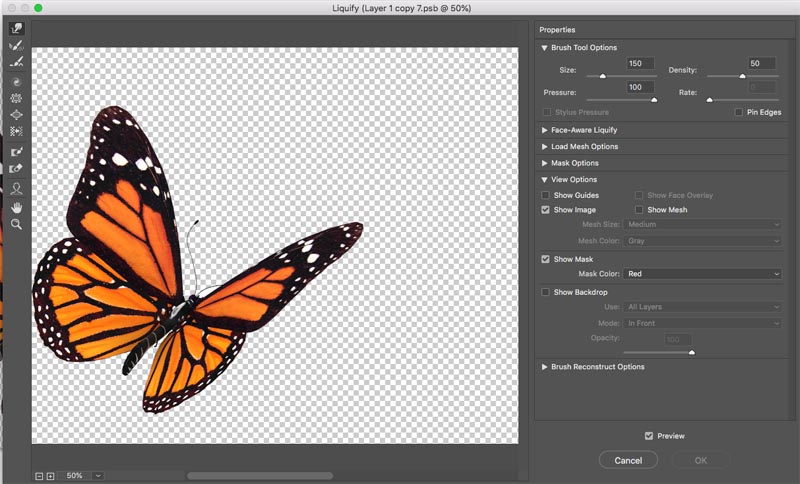
The Liquify panel will open. This is just an example, it could be any filter.
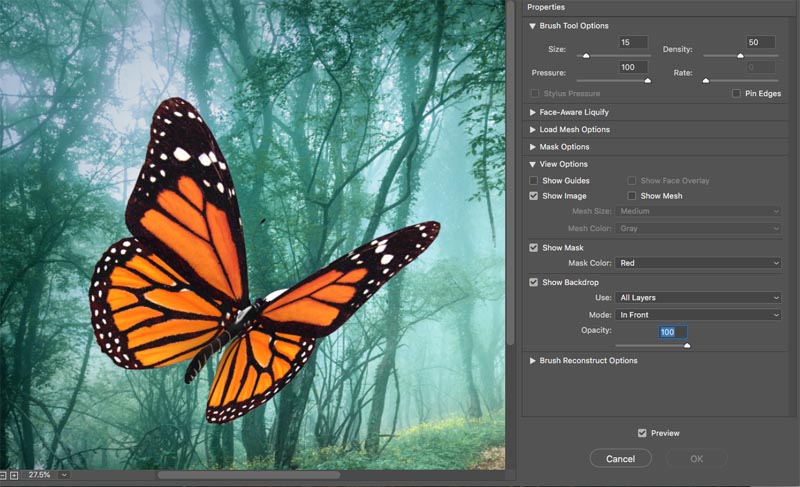
Turn off the background layer to hide it.
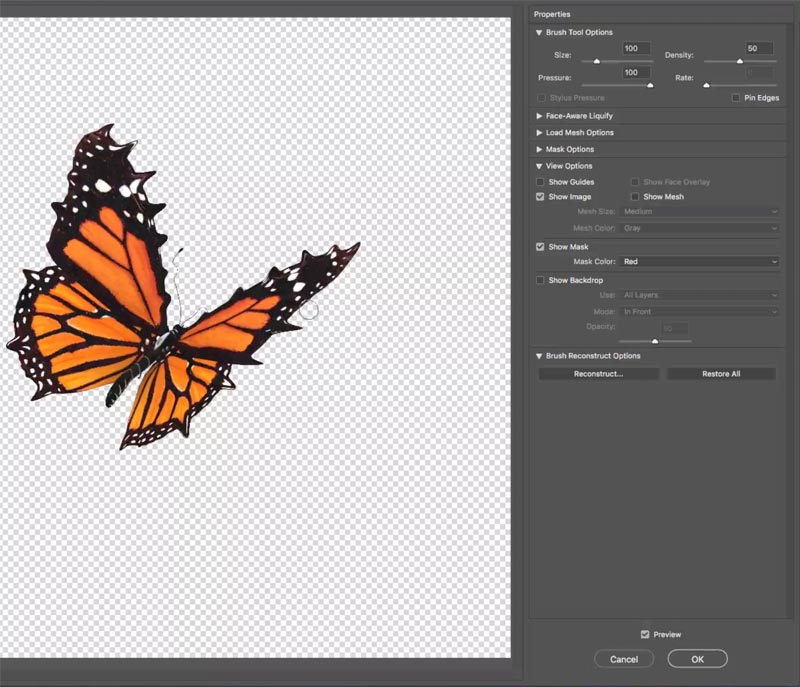
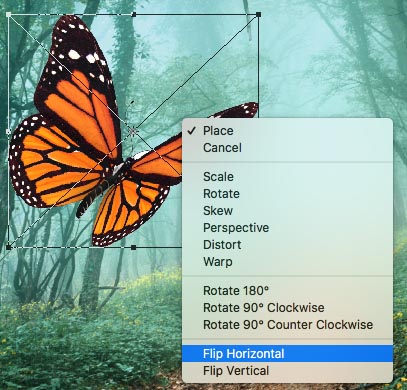
Drag on the edges of the wings with the forward warp tool at add spikes to the butterfly wings.
PLEASE NOTE THAT THESE INSTRUCTIONS WILL BE FINISHED TONIGH, SO please come back for them and bookmark the page.


The post How to use Smart Objects in Photoshop, the ultimate guide appeared first on PhotoshopCAFE.


